
Hair thinning and hair loss can significantly affect confidence and self-esteem. Among modern treatments, PRP (Platelet-Rich Plasma) hair treatment has gained popularity as a safe, natural, and minimally invasive option to stimulate hair growth. PRP uses your own blood to activate dormant hair follicles and improve scalp health. Understanding the step-by-step process can help you prepare for a comfortable and effective treatment experience.
Step 1: Initial Consultation
Before starting PRP treatment, you will have a consultation with a qualified hair specialist. During this appointment:
-
Your medical history and hair loss pattern are evaluated
-
Your suitability for PRP is determined
-
Expected results and treatment plan are discussed
-
Questions about procedure, side effects, and costs are answered
This step ensures the treatment is personalized and safe.
Step 2: Blood Collection
A small amount of your blood, usually 10–20 ml, is drawn from your arm. The blood will serve as the source for platelet-rich plasma, which contains growth factors essential for hair follicle stimulation.
Step 3: Preparation of PRP
The blood is processed using a centrifuge to separate platelet-rich plasma from red blood cells and other components. This concentrated plasma contains:
-
Platelets rich in growth factors
-
Proteins that promote tissue repair
-
Cytokines that stimulate cell regeneration
The resulting PRP is ready to be injected into the scalp.
Step 4: Scalp Preparation
The target areas of your scalp are cleansed thoroughly to minimize infection risk. A topical numbing cream may be applied to ensure comfort during injections. This step helps make the procedure as painless as possible.
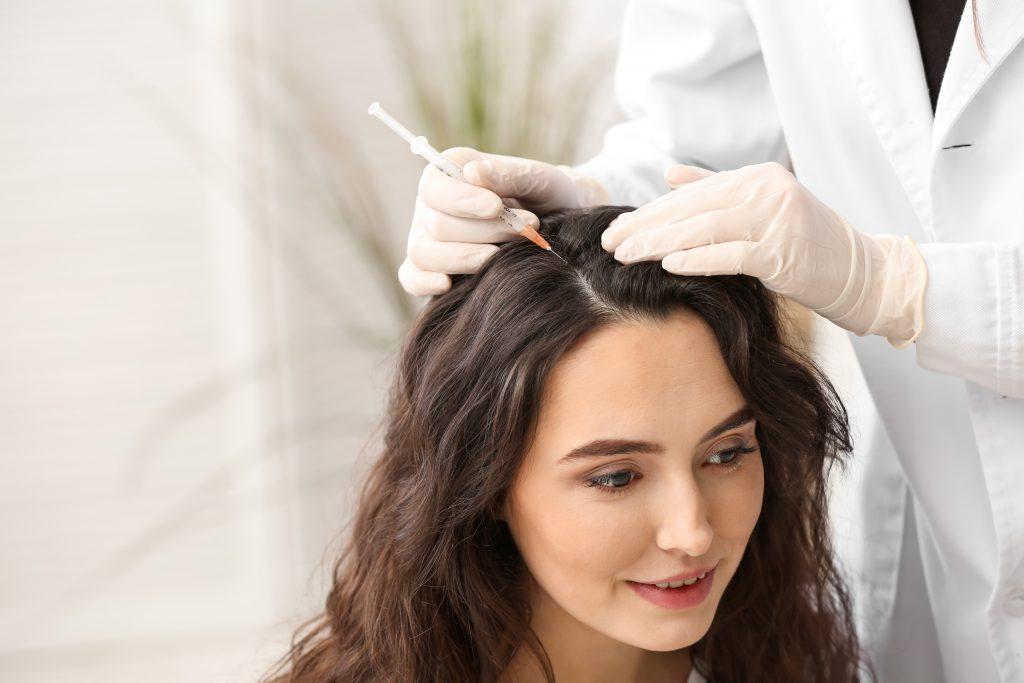
Step 5: PRP Injection
The platelet-rich plasma is injected into the areas of thinning hair using fine needles. Multiple injections are administered in a systematic pattern to cover the affected scalp regions evenly. Patients may feel mild pressure or pinching, but discomfort is usually minimal.
Step 6: Post-Treatment Care
After the session, minor redness, swelling, or tenderness may occur at injection sites. To optimize results and reduce side effects:
-
Avoid washing your hair for 24–48 hours
-
Refrain from sun exposure or harsh chemical treatments
-
Avoid strenuous physical activity for the first day
-
Follow your doctor’s recommended schedule for subsequent sessions
Most patients can resume normal daily activities immediately after treatment.
Step 7: Follow-Up Sessions
For optimal results, a series of 3–4 sessions is usually recommended, spaced 4–6 weeks apart. Maintenance sessions every 6–12 months help sustain hair growth and follicle health.
Step 8: Monitoring Progress
Your hair specialist will track improvements in:
-
Hair density
-
Hair thickness
-
Reduced shedding
-
Overall scalp health
Visible results typically appear within 2–3 months, with maximum outcomes around 6–9 months after the first session.
Benefits of PRP Hair Treatment
-
Natural and safe: Uses your own blood, minimizing allergic reactions
-
Minimally invasive: No surgery, no scarring, and minimal downtime
-
Stimulates hair growth: Reactivates dormant follicles and strengthens existing hair
-
Can complement other treatments: Enhances results of hair transplants or medications
Who Should Avoid PRP?
PRP is not recommended for individuals with:
-
Blood disorders or low platelet counts
-
Active scalp infections
-
Severe chronic illnesses
-
Pregnancy or breastfeeding
A thorough consultation ensures the treatment is safe and suitable for each patient.
Final Thoughts
PRP hair treatment is a scientifically backed, natural approach to combat hair thinning and hair loss. By following this step-by-step guide, patients can prepare for a smooth, comfortable procedure that stimulates hair growth, improves scalp health, and restores confidence. For individuals looking for a minimally invasive and effective hair restoration solution, PRP offers promising results without the need for surgery or synthetic chemicals.