
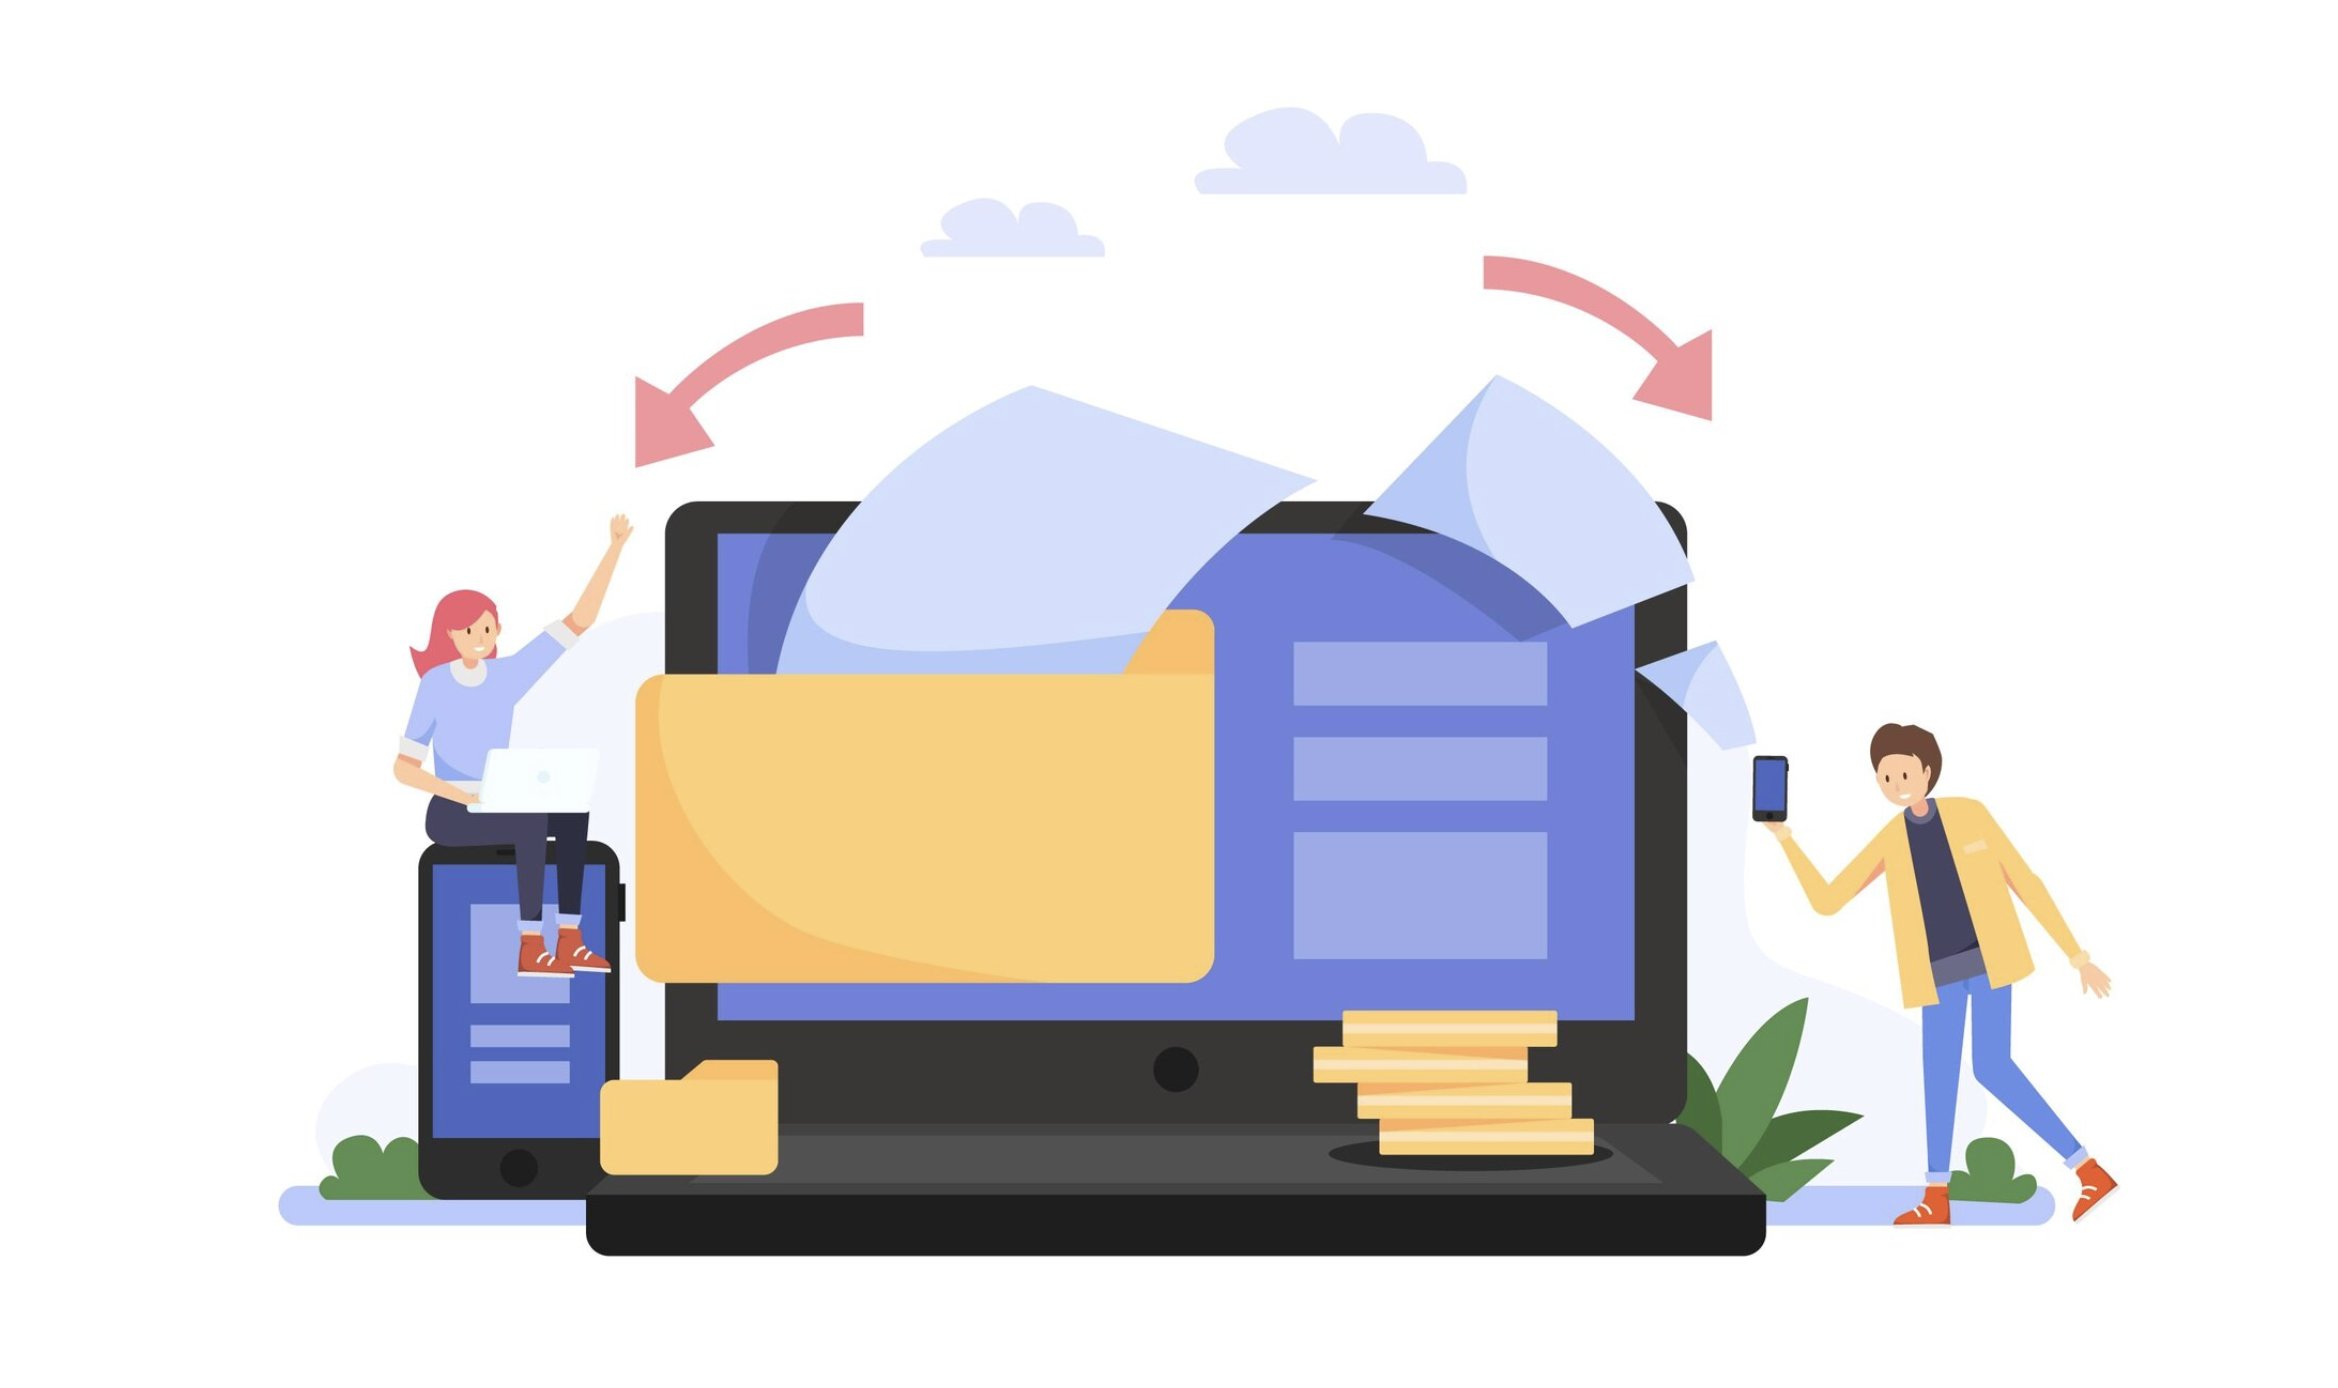
When work is file-based, document and content organization quickly becomes a competitive advantage. A client sent a contract in the wrong format, the accounting department urgently needs a smaller PDF, a designer needs to compress a bunch of images without noticeable quality loss, and social media publishing suddenly requires audio in a different codec. In such situations, a simple workflow saves the day, rather than heavy-duty programs and time-consuming setup: find the right tool in one place, for example, at https://luvvhelp.com/ with a selection of free online converters, perform the conversion, then reduce the file size, check the result, and send or publish immediately. The key is to follow the process and understand where quality is and isn't lost, so as not to turn an urgent task into an endless cycle of "do it again."
Why a “chain of actions” is more important than a single tool
The most common mistake in the office and among content creators is trying to solve everything in one operation. Convert a file, it's now in the right format, but it's twice as big. Compress it, and it's lighter, but the text is blurry or the fonts are missing. Send it to a client, and it turns out the document opens with an error, and the colors in the image look different on a phone. Therefore, it's more convenient to think not about "how to open it," but rather about "what sequence do I need": convert it to the right format, reduce the file size, check the quality, prepare it for sending or publishing. Keeping a clear sequence in mind helps tasks stop feeling chaotic, and solutions become repeatable and quick.
Basic scenario for business and content
Almost any "urgent" file issue follows the same pattern. First, you convert the file to a format that's clearly accepted by the recipients or the platform. Then, you reduce the file size just enough for email, instant messaging, CRM, advertising, or CMS. After that, you run a quick quality check: check for any blurry text, artifacts, page order, and audio quality. Only then do you prepare the final version: give it a clear name, remove unnecessary data, check permissions and restrictions, and attach or publish.
Documents and PDFs: When Readability Matters More Than a "Picture Perfect"
Three situations often arise with documents. First, you need to quickly create a PDF because it opens identically almost everywhere and preserves the layout. Second, you need to shrink the PDF because it won't fit in your email or upload form. Third, you need to make minor adjustments without a full-fledged editor: remove an extra page, combine multiple files, rotate a crooked scan, or resize pages to the same size.
To avoid surprises, start with the goal in mind. If the document will be signed or sent to a client, you need a stable visual layout, which means it's best to convert the source file to PDF and only then compress it. If the document is being archived for internal use, you can compress it further, but still leave small fonts and numbers legible. Pay special attention to scans: they're often overcompressed, making seals and signatures blurry. In such cases, it's best to reduce the file size carefully and check the 100% zoom level on the screen, not just in a reduced preview.
After compressing a PDF, be sure to check several "control" areas: tables, small text, signatures, stamps, pages with graphs and logos. If the quality is at its limit in any of these areas, it's best to back off and select a more gentle compression setting. Otherwise, you'll save megabytes at the cost of stress and transmission time.
Images for websites and social media: weight, size, and color must match the task
Images most often require standardization rather than "conversion for the sake of conversion." For a website, a predictable format and adequate file size are important so that the page doesn't take forever to load. Marketplaces require specific size requirements and, sometimes, a white background. For social media, proportions and how well the image will handle compression by the platform itself are important.
The correct logic is simple: first, choose the format, then set the dimensions, and then compress. If you do the opposite and compress first and then stretch to the desired size, you'll increase artifacts. If you're unsure between a photo and graphics format, consider the nature of the image: photographs generally hold up better in formats designed for smooth transitions and textures, while logos, icons, and screenshots with text are best saved in formats that are more careful with sharp edges and fine details. After processing, check two areas: small text and the edges of contrasting objects; these are where overcompression is most often visible.
Another subtle issue is color. Sometimes an image looks fine in the editor, but after converting it in another viewer, it becomes a little "colder" or "dirtier." This is often due to the color profile and how different devices process it. Therefore, if the image is going into advertising or a storefront, open the resulting file in at least two places: on your computer and on your phone.
Audio and voice: how to prepare for publication and delivery without studio programs
Audio issues are almost always addressed for two reasons: the file is too large or the recipient can't play it. The workflow is as follows: choose a format that's reliably supported by the platform or messenger, then adjust the compression to ensure speech remains intelligible, and only then check the volume and pauses. Too much compression in voice tracks manifests itself as metallic overtones and "hissing" artifacts, especially on consonants. If you hear this, roll back to softer settings.
Another important thing for entrepreneurs and office tasks is a clear duration and structure. If you're sending a voice message as a comment on a task, it's helpful to trim the silence at the beginning and end so the recipient doesn't have to "catch" the beginning. It seems like a small thing, but it's precisely these little details that create a sense of careful communication.
Text and Office Formats: When You Need It to Be "Open for Everyone"
Text formats often break down at the intersection of ecosystems. Some work in one office suite, some in another, and still others open the document on their phones. Therefore, the task is usually to convert the text to a format that won't break the structure, and then ensure that nothing breaks. If you need a guaranteed appearance, choose a format that preserves the layout, but if you need a document for collaborative editing, compatibility and correct styles are more important.
It's especially important to be mindful of encodings and special characters, especially if the text contains links, various types of dashes, quotation marks, emoji, currency symbols, and non-standard characters. After converting, scan the places where these occur, as this is where gibberish most often appears.
Quality Control: How to Make Sure You Don't Ruin Your File
Keep the check short, otherwise you'll stop doing it. For PDFs, simply open the file, scroll through a few pages, zoom in on one or two sections with small text to 100%, and make sure everything is legible. For images, simply open the final result and compare it with the original on a key section containing details and edges. For audio, simply listen to 20-30 seconds from the beginning, middle, and end to catch any quality gaps or strange interruptions.
It's also useful to check the actual file: whether it's uploading to the destination you're sending it to. Some services cut it by size, some don't like certain extensions, and some re-scale the quality. It's best to find out before you send it to the client and get a "doesn't open" error.
Preparing for Submission and Publication: Order in Title and Versions
Even a perfectly good file can cause confusion if it's named haphazardly. For work-related purposes, a simple principle helps: the name should contain a meaningful, dated, and versioned text. This will easily distinguish the final document from the intermediate version, making it easier for the recipient to navigate. Plus, it reduces the risk of accidentally sending an outdated version.
Before sending, check for extra pages, duplicates, accidental drafts, hidden comments, or notes. People often assume "only I can see this," only to find out the comments are perfectly legible to the client. For visual content, check how the file displays in the preview wherever it will live: in an email, in a messenger, or on the publishing platform.
Security: How to avoid stealing unnecessary information online along with a file
Online tools are convenient, but they require discipline. The first rule is: don't upload unnecessary information. If you need to compress one contract, don't process an entire archive of client documents. The second rule is: remove personal information if the recipient doesn't need it. The third rule is: think about metadata. Photos and some documents may contain proprietary information you didn't intend to disclose: information about creation, device, author, and sometimes geotags. If you publish content publicly or send it to external contractors, it's best to create a "clean" version, removing everything except what needs to be visible.
Finally, always proofread the final file before sending. It sounds obvious, but a final proofread is what protects you from two of the most costly mistakes: leaking unnecessary information and sending a file that won't open when you send it.
How to turn this into a habit and stop wasting your nerves
Keeping your documents and content organized doesn't require complex programs if you have a clear workflow and a single place to complete common tasks. When you regularly follow the "format → weight → quality → send or publish" process, you're less dependent on a specific computer, have fewer formatting issues, and have to redo the same tasks less frequently. Ultimately, everyone wins: you complete operational details faster, the client receives a neat result, and the content is delivered on time and in the correct format.