
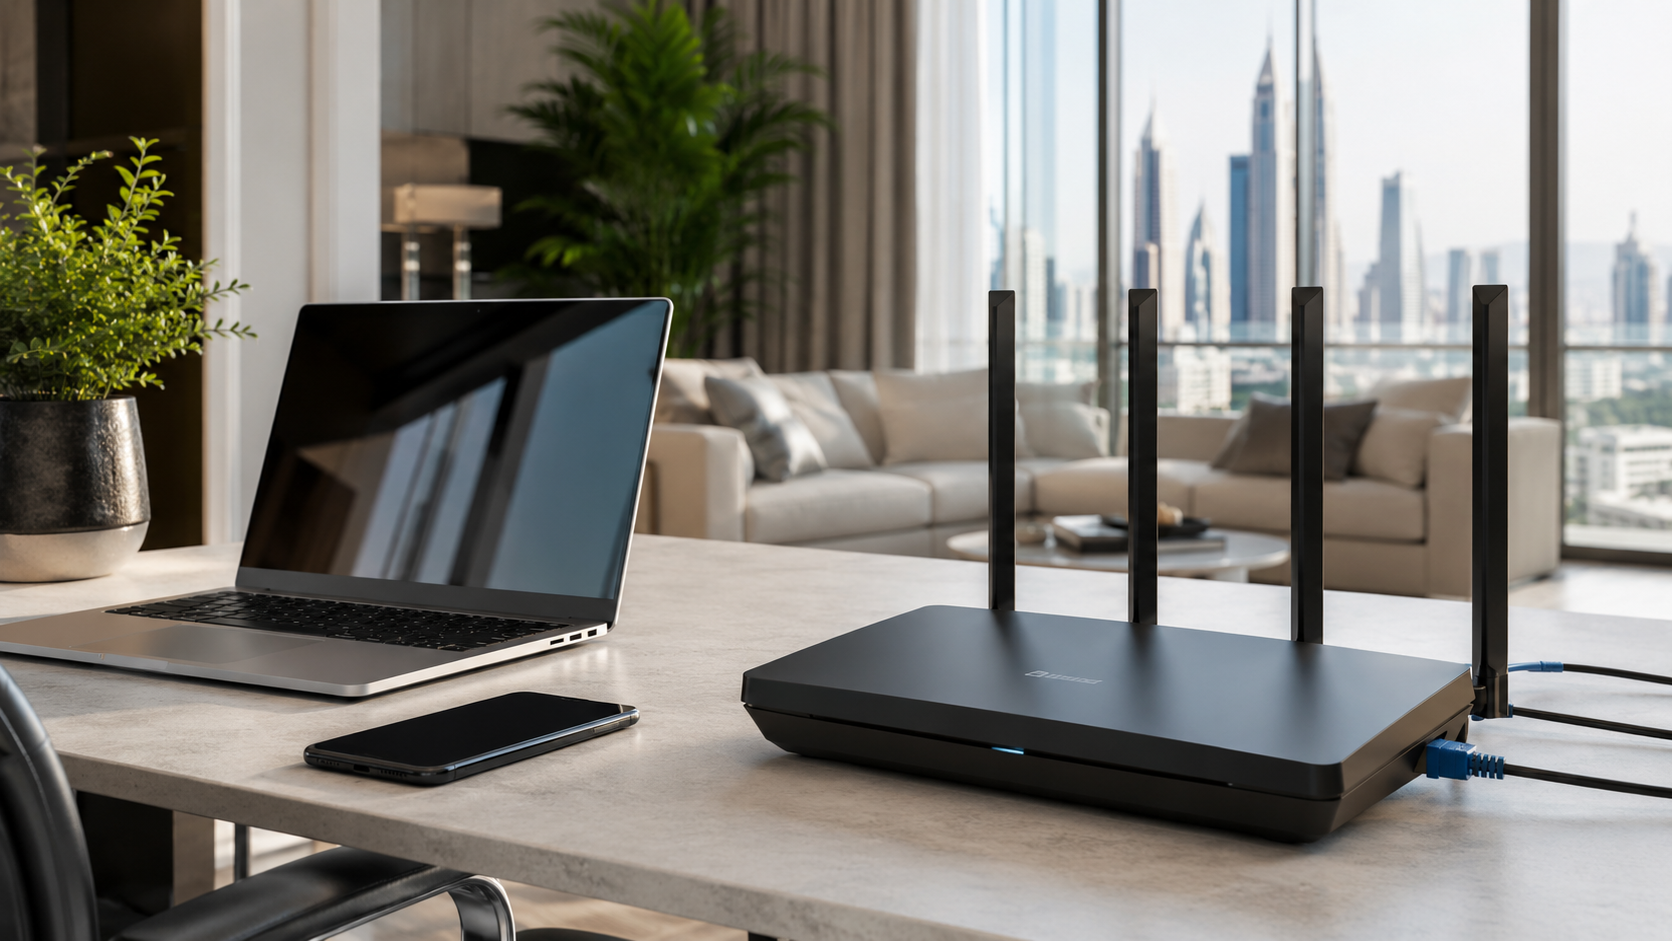
A home router must be installed correctly to give stable WiFi, safe access, and smooth internet performance. Many connection problems happen because of small setup mistakes, such as using the wrong port, keeping the default password, or placing the router in a poor location. This guide explains the basic steps for d-link router installation in a simple way for home users.
Check Everything Before You Start
Before connecting the router, make sure you have the router, power adapter, internet cable, and login details. If your internet provider gave you a username and password, keep those details ready because you may need them during setup.
Also check that your modem or fiber box is working properly. If the main internet line is not active, the router may turn on, but your devices will not get internet access.
Connect the Router Properly
Plug the power adapter into the router and switch it on. Then connect the internet cable from the modem, fiber box, or wall port to the WAN or Internet port of the router. This port is usually separate from the LAN ports.
If you connect the cable to the wrong port, your WiFi network may appear on your phone or laptop, but the internet will not work. Always check the port label before moving to the next step.
Connect Your Phone or Laptop
After the router turns on, wait a few minutes for the lights to become stable. Then connect your phone, laptop, or desktop computer to the router network. The default WiFi name and password are usually printed on the router label.
For first-time setup, a laptop with a LAN cable is often a better choice. It keeps the connection stable while you are saving settings and prevents interruption during configuration.
Open the Router Login Page
Open a web browser and enter the router login address shown on the router label or user manual. Once the login page opens, enter the admin username and password.
If the router is new, the default login details may be printed on the device. If it was used before, the password may already be changed. Do not reset the router unless you are ready to set it up again from the beginning.
Set Up the Internet Connection
After logging in, go to the internet settings section. In many homes, the router can detect the internet connection automatically. In some cases, your internet provider may require PPPoE details, such as a username and password.
Enter the required details carefully and save the settings. Wait for the router to reconnect, then open a website on your device to confirm that the internet is working.
Change the WiFi Name
The default WiFi name can be confusing, especially if there are many nearby networks. Change it to a simple name that you can easily recognize.
Avoid using personal information such as your full name, phone number, apartment number, or exact address. A clean network name is easier to manage and safer for privacy.
Create a Strong WiFi Password
A strong WiFi password protects your network from unwanted users. If too many unknown devices connect to your WiFi, your internet may become slow and less secure.
Use a password with uppercase letters, lowercase letters, numbers, and symbols. Avoid simple passwords like your name, birth date, mobile number, or “12345678.”
Select the Right WiFi Band
Many modern routers support both 2.4GHz and 5GHz WiFi bands. The 2.4GHz band gives better range and works better through walls. The 5GHz band is faster but works best when your device is close to the router.
Use 2.4GHz for devices in distant rooms and 5GHz for laptops, smart TVs, gaming devices, or phones near the router.
Place the Router in a Better Location
Router placement affects WiFi performance more than many users realize. Keep the router in an open and central area of your home. A table, shelf, or open space is better than the floor or a closed cabinet.
Avoid placing the router behind a TV, near thick walls, close to metal objects, or beside microwave ovens. These things can weaken the signal and create coverage problems.
Secure the Router Settings
After setting up WiFi, change the router admin password. This is different from your WiFi password. The admin password protects the router control panel from unauthorized access.
Use WPA2 or WPA3 security if available. These options are safer than older security modes and help keep your home network protected.
Test the WiFi Connection
Once the setup is complete, test the internet near the router first. Then check the connection in other rooms, such as the bedroom, living room, kitchen, and workspace.
If the speed is good near the router but weak in other areas, the issue is likely WiFi coverage. In that case, you may need better router placement, a WiFi extender, mesh system, or access point.
Final Verdict
Installing a home router is simple when you follow the right steps. Start with the correct cable connection, log in safely, set up the internet, create a strong WiFi password, and place the router in a good location. With careful setup, your home WiFi can become more stable, secure, and reliable for daily use.