
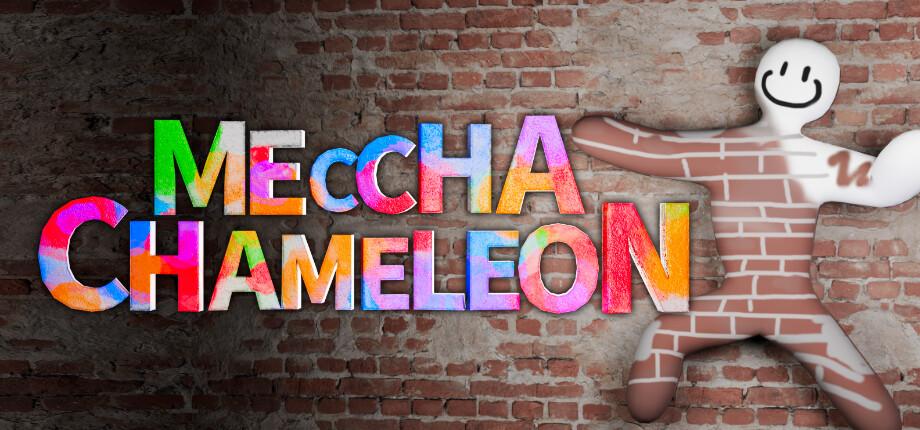
What happens when your paint job is perfect and you still get tagged in the first ten seconds of a hunt? It's one of the most common frustrations new players bring into https://mecchachameleon-game.com and the answer usually has nothing to do with color at all — it has to do with a pose that never matched the spot in the first place.
Two Roles, One Timer
Every lobby splits players into Hiders and Seekers, and the whole match runs on a shared clock split into three stages: prep, hunt, and results. During prep, Hiders roam the level, sample colors, and lock a pose while Seekers are held back. Once hunt begins, Hiders lose all ability to adjust anything — no repainting, no repositioning, no second-guessing. Whatever you committed to during prep is what you live or die by for the rest of the round.
Lobbies run anywhere from 2 to 10 players, which changes the texture of a match more than people expect. A 10-player lobby means more hiding spots get claimed early, pushing latecomers into riskier, more visible corners. A small lobby of 2 or 3 makes every single hiding decision far more consequential, since there's no crowd of other Hiders diluting a Seeker's attention.
The gap between a full 10-player lobby and a tight 2-player match is bigger than the player count alone suggests. In a packed lobby, a mediocre hiding spot can still survive because a Seeker only has time to check so many corners before the timer runs out, while in a small lobby every single Hider gets found unless their disguise is genuinely convincing. Groups that bounce between lobby sizes often notice their instincts need recalibrating each time — a spot that would've been safe in a crowd suddenly isn't when you're one of only two Hiders on the map.
Results screens are where most of the actual community joy lives. Every hiding spot gets revealed, every miss gets shown, and the gap between "I was standing right there" and "I never even looked at that corner" is where most of the clips people share online come from. A casual group playing purely for laughs will often replay the same near-miss two or three times on the results screen before moving to the next round, which is arguably as core to the appeal of Meccha Chameleon as the hiding itself.
Opening the Meccha Paint Menu
The paint interface, opened with F, holds a color wheel, HSV sliders, an eyedropper, and separate sliders for metallic and roughness values. New players tend to treat the eyedropper as the entire job, sampling a wall color and calling it done. That's a mistake competitive players avoid. Metallic and roughness values matter just as much as hue — a matte body against a glossy countertop or a fully reflective surface against flat drywall breaks the illusion even with an identical color underneath.
The single most repeated rookie error across every guide and forum thread on Meccha Chameleon is opening the paint menu before actually committing to a hiding spot. Colors sampled while standing in open space rarely match anything once you've tucked yourself against a real surface, since lighting angle and surface texture both shift the moment you move.
Once players get comfortable enough with the eyedropper to sample instinctively, most start layering in HSV micro-adjustments — nudging saturation down a notch to account for a shadowed corner, or brightness up slightly under a light fixture. That level of polish is what separates a lobby full of casual painters from a group where everyone's near-invisible by the third round.
A particularly divisive detail among the community is how unforgiving the metallic slider is on reflective maps: a slightly wrong setting on a chrome fixture or glass surface will catch a Seeker's eye faster than almost any color mismatch would, and some players find that level of precision satisfying while others consider it needlessly fiddly for a party game.
Locking a Pose That Matches the Spot
The pose wheel, bound to R, offers several base shapes: wall-flat for sticking against vertical surfaces, curl for tucking under furniture, and object-mimic for taking on the rough profile of a nearby prop. Wall-flat poses in particular can stick directly to a surface, and the HUD shows a release prompt for repositioning if you need to adjust before locking in for good.
Here's what separates a Hider who survives a full round from one who doesn't:
- Scout and commit to a specific surface before opening any menu, because backtracking between two candidate spots burns time that a confident first choice wouldn't have cost.
- Match paint color, metallic value, and roughness to that exact surface, since any one of the three left unadjusted can undo the other two.
- Choose the pose shape that fits the surface's actual geometry, not just a pose you like, because a stylish pose in the wrong shape category reads as obviously artificial no matter how good the paint underneath is.
- Lock the pose early enough to leave a buffer before hunt phase begins, so a last-second problem with lighting or angle doesn't get discovered with no time left to fix it.
A curl pose specifically rewards Hiders who scout low, cluttered spaces — under desks, behind cabinets, beside stacked boxes — rather than defaulting to open wall space just because it's easier to reach during a short prep window.
What Seekers Are Actually Looking For
Seasoned Seekers in Meccha Chameleon stop scanning for color almost entirely after their first few dozen matches, because color matching gets too reliable to rely on. What they hunt instead is shape: a silhouette slightly too rounded for a flat wall, a limb crossing over a tile seam, an object-mimic pose sitting somewhere no real object of that shape would ever sit. Crouching to sweep low furniture and baseboards after clearing eye-level space is standard practice, since new Hiders default to eye-level hiding spots far more often than experienced players do.
A methodical Seeker tends to work a room by zone — perimeter first, then clutter, then corners — rather than darting between whichever spot looks interesting first. That patience is exactly what the ranking update now rewards on the scoring side too, since a Seeker who sweeps thoroughly racks up fewer missed spots on their own end-round breakdown.
One recurring point of debate among Seekers is whether the game's lack of a dedicated sprint key makes sweeping too slow on larger maps. Some players find the deliberate pace essential to the tension of the hunt, while others consider it a genuine pacing flaw on the biggest levels, where a full zone-by-zone sweep can eat most of the hunt timer before ever reaching the far side of the map.
The Ranking Update That Rewrote the Meta
An update to the scoring system changed what "good hiding" even means competitively. Hider scores are now calculated from distance to the nearest Seeker and duration spent within that Seeker's field of view without being caught — meaning the closer and longer you go unnoticed right under a Seeker's nose, the higher your score climbs. This flipped a lot of long-held habits. Hiding in the furthest, darkest corner of a level, once considered the safe play, now scores worse than posing directly along a Seeker's main patrol route and simply never being noticed. Seekers get a parallel breakdown after each round, listing exactly which hiding spots and which specific Hiders they walked past without spotting.
Not everyone likes this shift. Some longtime players feel it pushes Meccha Chameleon toward risk-taking that doesn't suit slower, casual groups, and prefer turning ranking display off entirely for relaxed lobbies. Others have leaned all the way in, deliberately locking a wall-flat pose within arm's reach of a Seeker's expected route just to chase the top of the scoreboard.
By the time a group has played the same map three or four times in a session, the predictable patrol lines a Seeker tends to walk become common knowledge, and camping near them becomes almost a running joke — everyone knows where the "obvious" safe spot has quietly become the riskiest one, precisely because it's no longer obvious once everyone's fighting over it.
Modes That Change the Rules Mid-Round
Beyond the standard mode, hosts can select variants like Increasing Oni or Double, both of which change what happens the instant a Hider gets tagged instead of simply eliminating them outright. Forced Taunt is a separate toggle entirely, forcing every Hider to periodically make noise or gesture on an interval the host controls, which helps struggling Seekers in quiet voice-chat-free lobbies but frustrates players who built their whole strategy around staying silent.
Increasing Oni in particular changes the rhythm of a hunt phase noticeably, since converted or eliminated Hiders start contributing to finding the remaining ones rather than simply spectating for the rest of the round. Groups that prefer longer, more social matches tend to favor it precisely because fewer players end up sitting out early.
Frequently Asked Questions
- Why do I get tagged even with a perfect color match? Paint and pose are judged separately by other players' eyes. A flawless eyedropper sample on a body shaped wrong for the spot — a curl pose where wall-flat was needed, or limbs crossing a visible tile seam — still reads as obviously out of place.
- Does hiding far from the action still score well? No, not since the ranking update. Scoring now rewards staying close to a Seeker's field of view without getting caught, so distant, dead-end hiding spots score lower than high-traffic ones you survive in.
- What's the difference between Increasing Oni and Double mode? Both change the consequence of getting tagged rather than simply eliminating the Hider, giving rounds a different pace and risk profile than standard mode — worth testing with your usual group to see which one fits your lobby's style.
Between the paint menu, the pose wheel, and a scoring system that now rewards boldness over hiding in the dark, Meccha Chameleon keeps rewarding the players willing to lock a wall-flat pose two feet from a patrolling Seeker instead of retreating to the furthest corner of the map.